The Ultimate Guide to Steak Doneness: Temperatures and Techniques
I used to think I could “just tell” when a steak was done. Press it with your finger, feel the bounce, maybe cut into it to check. Yeah… that resulted in a lot of overcooked disappointment.
The game-changer? Finally buying a meat thermometer and actually learning what those doneness levels mean. Understanding steak temperatures transformed me from someone who hoped for a good steak to someone who delivers one every single time.
Whether you’re grilling ribeyes or pan-searing a strip steak, nailing the perfect doneness is everything. And if you’re looking for specific recipes to practice these techniques, check out my steak recipes collection that’ll help you put this knowledge to work.
The Steak Doneness Temperature Chart
Here’s the chart I keep on my phone because I reference it constantly.
Rare (125°F / 52°C)
Cool red center, very soft texture. Pull at 120°F—it’ll rise to 125°F while resting.
Medium-Rare (135°F / 57°C)
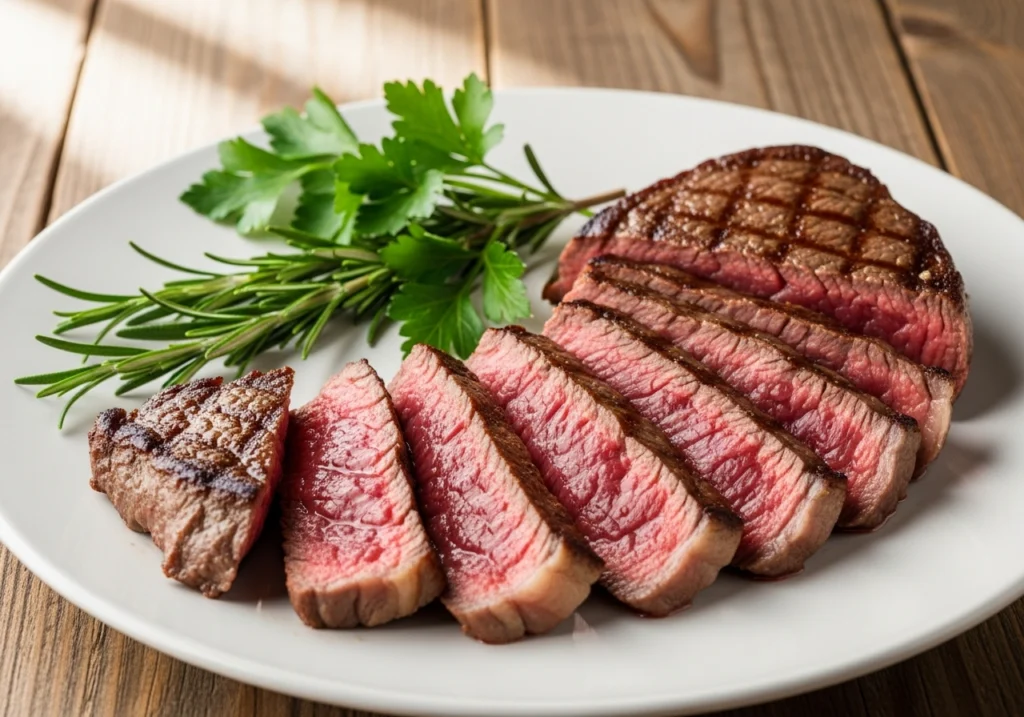
Warm red-pink center, firm outside with soft inside. Pull at 130°F. This is my sweet spot—maximum juiciness and flavor.
Medium (145°F / 63°C)
Warm pink center throughout, more firmness. Pull at 140°F. Still plenty juicy but less red.
Medium-Well (150°F / 66°C)
Slightly pink center, mostly brown. Pull at 145°F. Starting to lose moisture, so I add extra butter.
Well-Done (160°F+ / 71°C+)
No pink, uniformly brown, very firm. Pull at 155°F. I suggest a marinade to keep it from drying out.
Always pull your steak 5°F before your target temp. Carryover cooking is real!
According to the USDA, cooking beef to 145°F (medium-rare) meets food safety guidelines for whole cuts.

Step-by-Step Technique for Perfect Doneness
Here’s my foolproof method that works whether you’re grilling or pan-searing.
Step 1: Room Temperature (30 minutes)
Take your steak out of the fridge 30 minutes before cooking. Cold steak hits a hot pan and the outside overcooks before the inside comes up to temp.
Step 2: Season Generously (5 minutes before)
Kosher salt and black pepper. That’s it. I use about 1 teaspoon of salt per pound of steak. Pat the steak completely dry first—moisture prevents a good sear.
Step 3: Get Your Pan Smoking Hot (5 minutes)
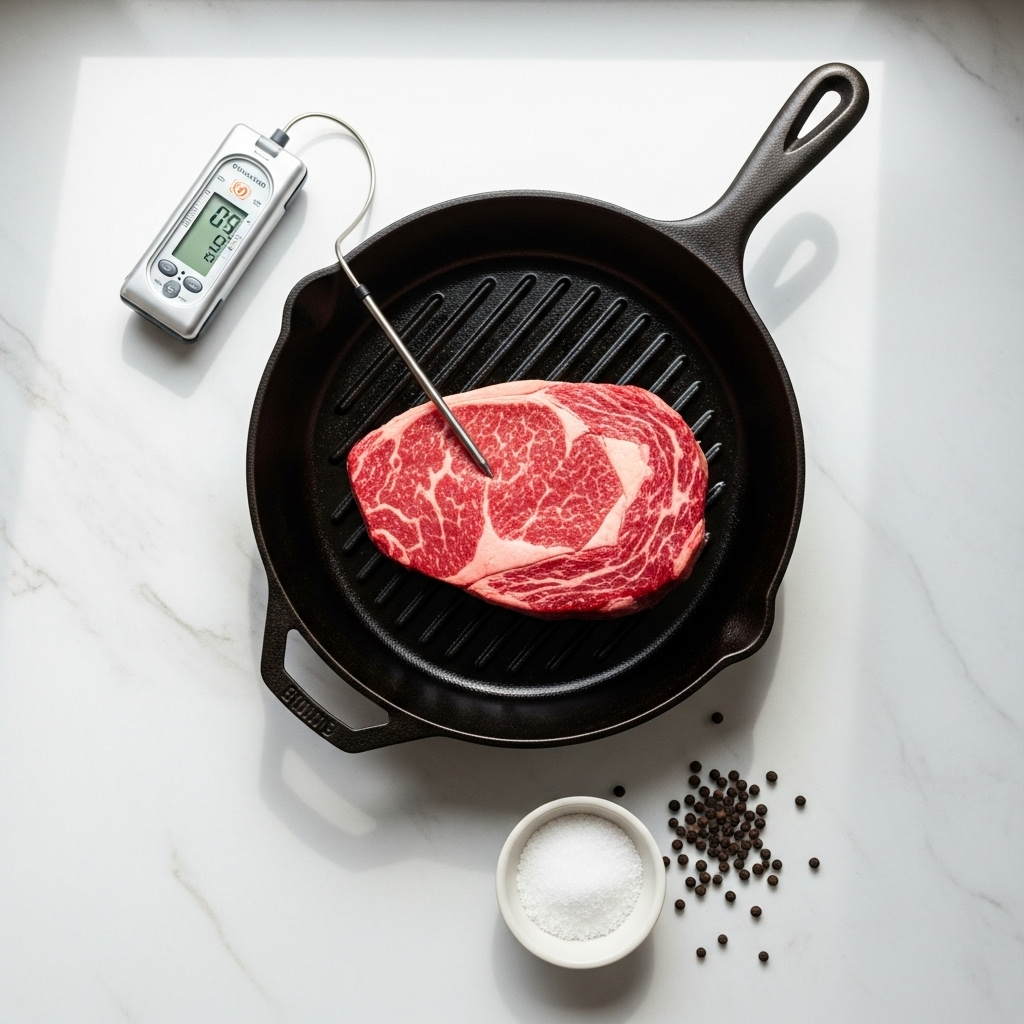
Your pan needs to be seriously hot. I preheat my cast iron on medium-high for 5 minutes. Add high smoke-point oil (avocado or grapeseed) and wait until it shimmers.
Step 4: Sear Without Touching (3-4 minutes per side)
Place your steak down and leave it alone. For a 1-inch thick steak aiming for medium-rare, I do 3-4 minutes per side. The steak will release naturally when ready to flip.

Step 5: Check Temperature (every minute after flip)
After I flip, I start checking temperature after about 2 minutes. Insert your thermometer horizontally into the side, aiming for the center. For medium-rare (135°F final), pull it at 130°F.
Step 6: Rest Your Steak (5-10 minutes)
This is mandatory. Tent it loosely with foil. The juices redistribute and the temperature evens out. For a 1-inch steak, 5 minutes works. Thicker steaks need 10 minutes.
Essential Tools You Need
Instant-Read Thermometer: This changed everything. Mine cost $25 and takes all guesswork out.
Cast Iron Skillet: You need something that holds heat. My cast iron has been my go-to for years.
Timer: Set it and don’t get distracted. I’ve overcooked too many steaks by forgetting to check the time.
According to Serious Eats, having the right equipment matters almost as much as technique.
Pro Tips That Actually Work
Tip 1: Thicker is better when learning. A 1.5-inch steak gives you way more margin for error than a thin cut.
Tip 2: When in doubt, pull it earlier. You can always cook it more, but you can’t un-cook it.
Tip 3: For thick steaks (1.5″+), try reverse searing. Cook in the oven at 250°F until 10-15°F below target, then sear hard in a hot pan. Edge-to-edge perfect doneness.
Tip 4: Add butter, garlic, and thyme in the last minute. Tilt the pan and baste continuously. Adds incredible flavor.

Common Mistakes to Avoid
Don’t cut into the steak to check. Every time you cut, juice escapes. Use a thermometer.
Don’t skip the rest period. Those 5-10 minutes matter more than you think.
Don’t use a cold pan. If it’s not hot enough, you’ll steam your steak instead of searing it.
Don’t forget carryover cooking. Your steak keeps cooking after you remove it from heat. That 5°F rise is real.
FAQ
Can I cook a steak without a thermometer?
Not with real accuracy. The touch test is unreliable. A $25 thermometer is the best investment you’ll make.
Why is my steak done outside but raw inside?
Your heat is too high, or your steak wasn’t at room temperature. Lower the heat slightly and temper your steak first.
Do I need to rest thin steaks?
Yes, but only 3-5 minutes. It still helps the juices redistribute.
Final Thoughts
Learning steak doneness temperatures changed my cooking life. There’s something deeply satisfying about slicing into a steak and seeing exactly the color you were aiming for.
Start with medium-rare and practice until you nail it every time. Trust your thermometer, respect the rest period, and you’ll wonder how you ever cooked without this knowledge.
Happy cooking!
– Ellie
Quick Reference
| Doneness | Pull Temp | Final Temp |
|---|---|---|
| Rare | 120°F | 125°F |
| Medium-Rare | 130°F | 135°F |
| Medium | 140°F | 145°F |
| Medium-Well | 145°F | 150°F |
| Well-Done | 155°F | 160°F+ |
Always rest 5-10 minutes after cooking!
